
Knitting a Triangle Scarf - Instructions & Tips
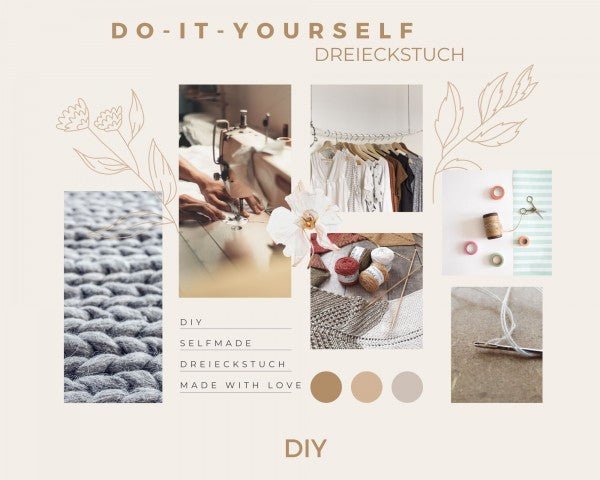
Are you in lockdown, with plenty of time on your hands, and looking to get creative? Then we have some tips for you on how to design a new DIY accessory in no time. In this post, I will introduce you to two different methods. First, for the knitting pros among us, instructions on how to knit your own triangular scarf, and second, a sewing tutorial.
As a little teaser: For the knitting method, you'll need about 20 hours of work and ideally some prior knitting experience.
But now to the instructions:

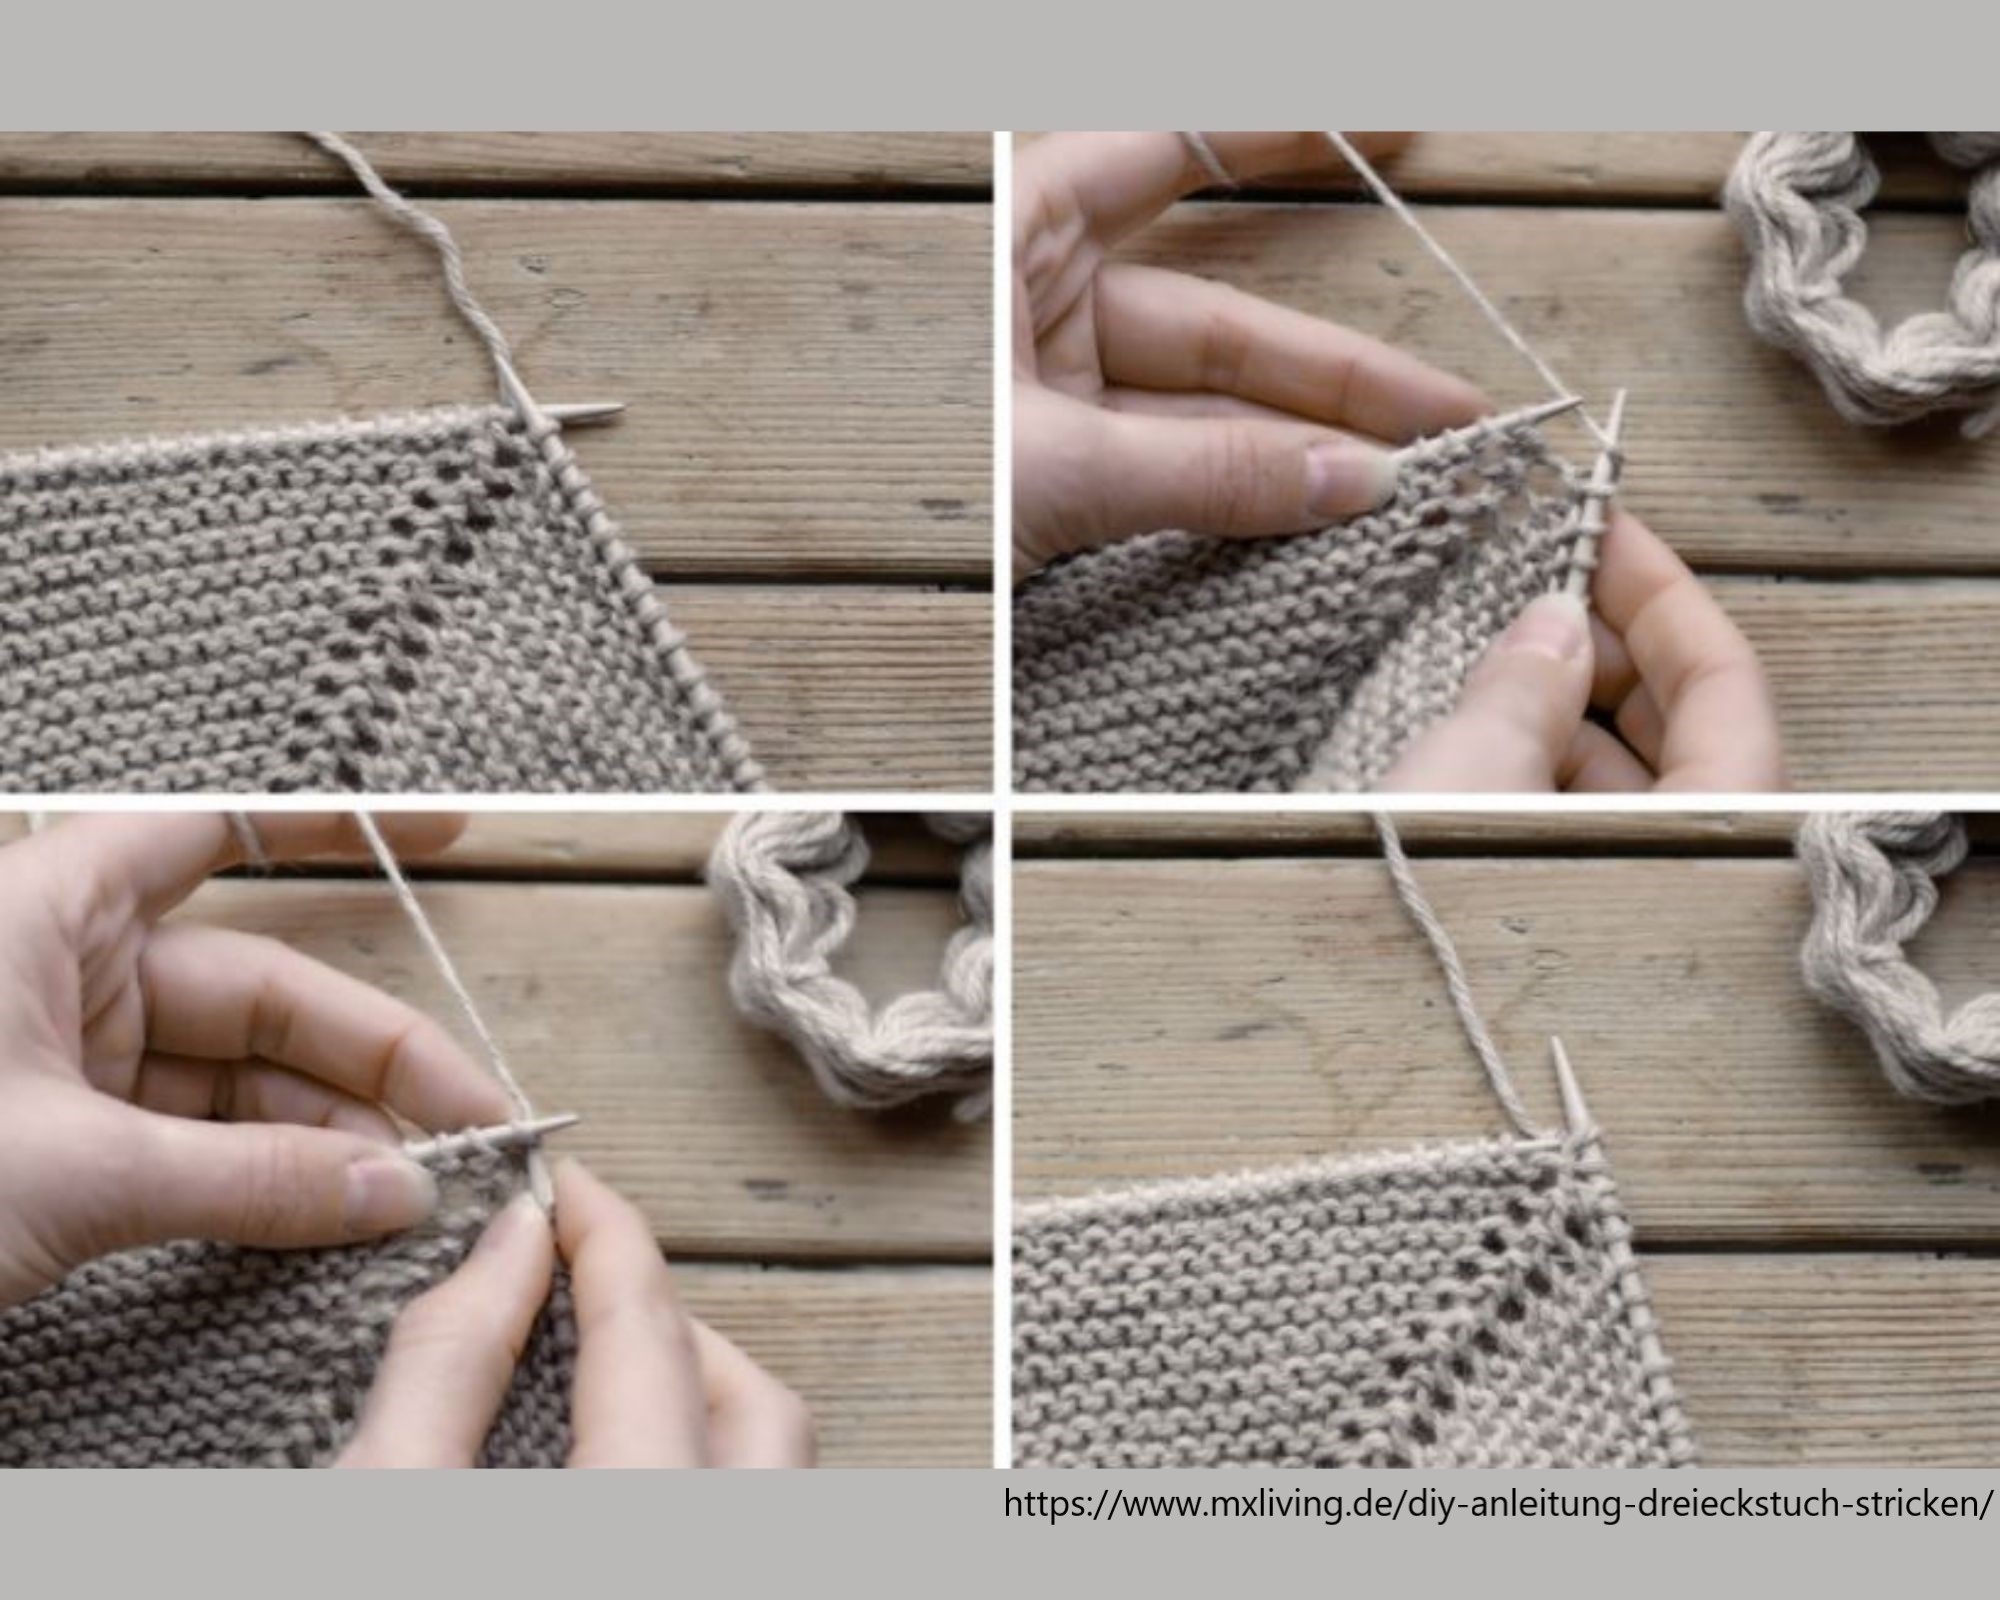
The return row is now knitted on the right. In the following rows, as usual, a yarn over is formed after the first two stitches and before and after the middle stitch. This will then create our great lace pattern on the entire triangular scarf. To make your triangular scarf widen outwards, insert a stitch marker into the middle stitch. This has the advantage that you can see where and on which side of the scarf an increase in stitches occurs. Don't forget to make a yarn over before the last two stitches. And that's exactly how you proceed in every row now.
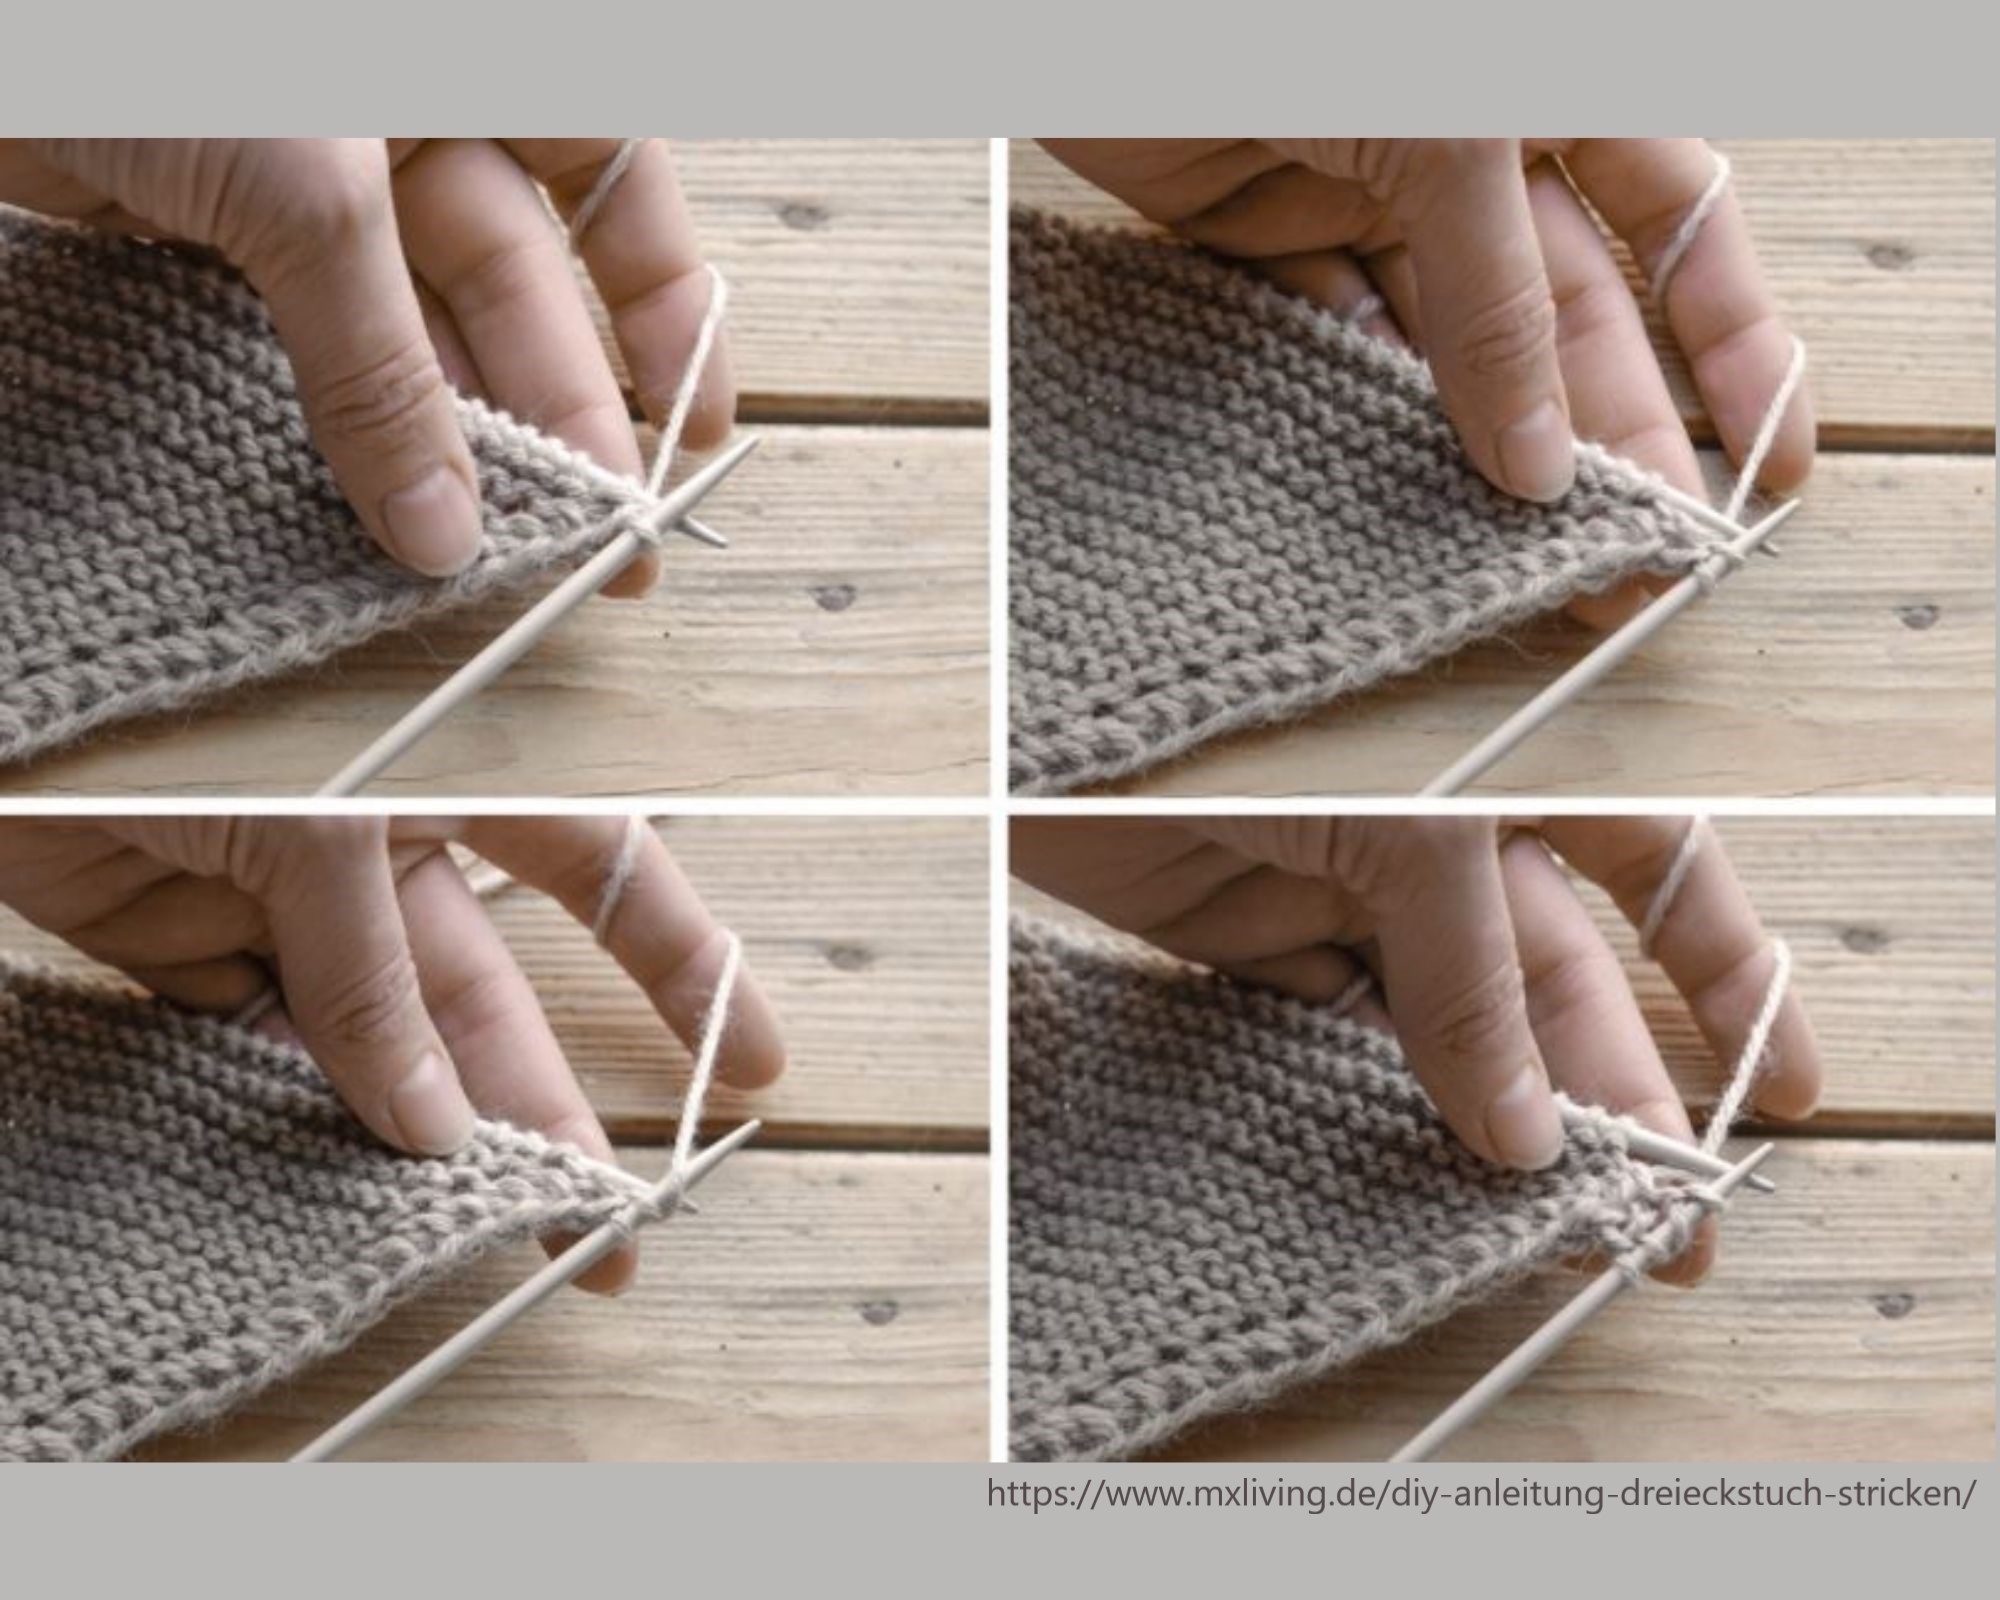
In this detail shot, you can see exactly how the selvedge stitches are knitted again.
Reminder: slip the first stitch – knit the next stitch on the right – make a yarn over – knit the next stitch on the right again - & this is how you proceed until the middle of the row.
If this knitting project is too elaborate for you, but you still fancy a great new accessory, here's another alternative for you:
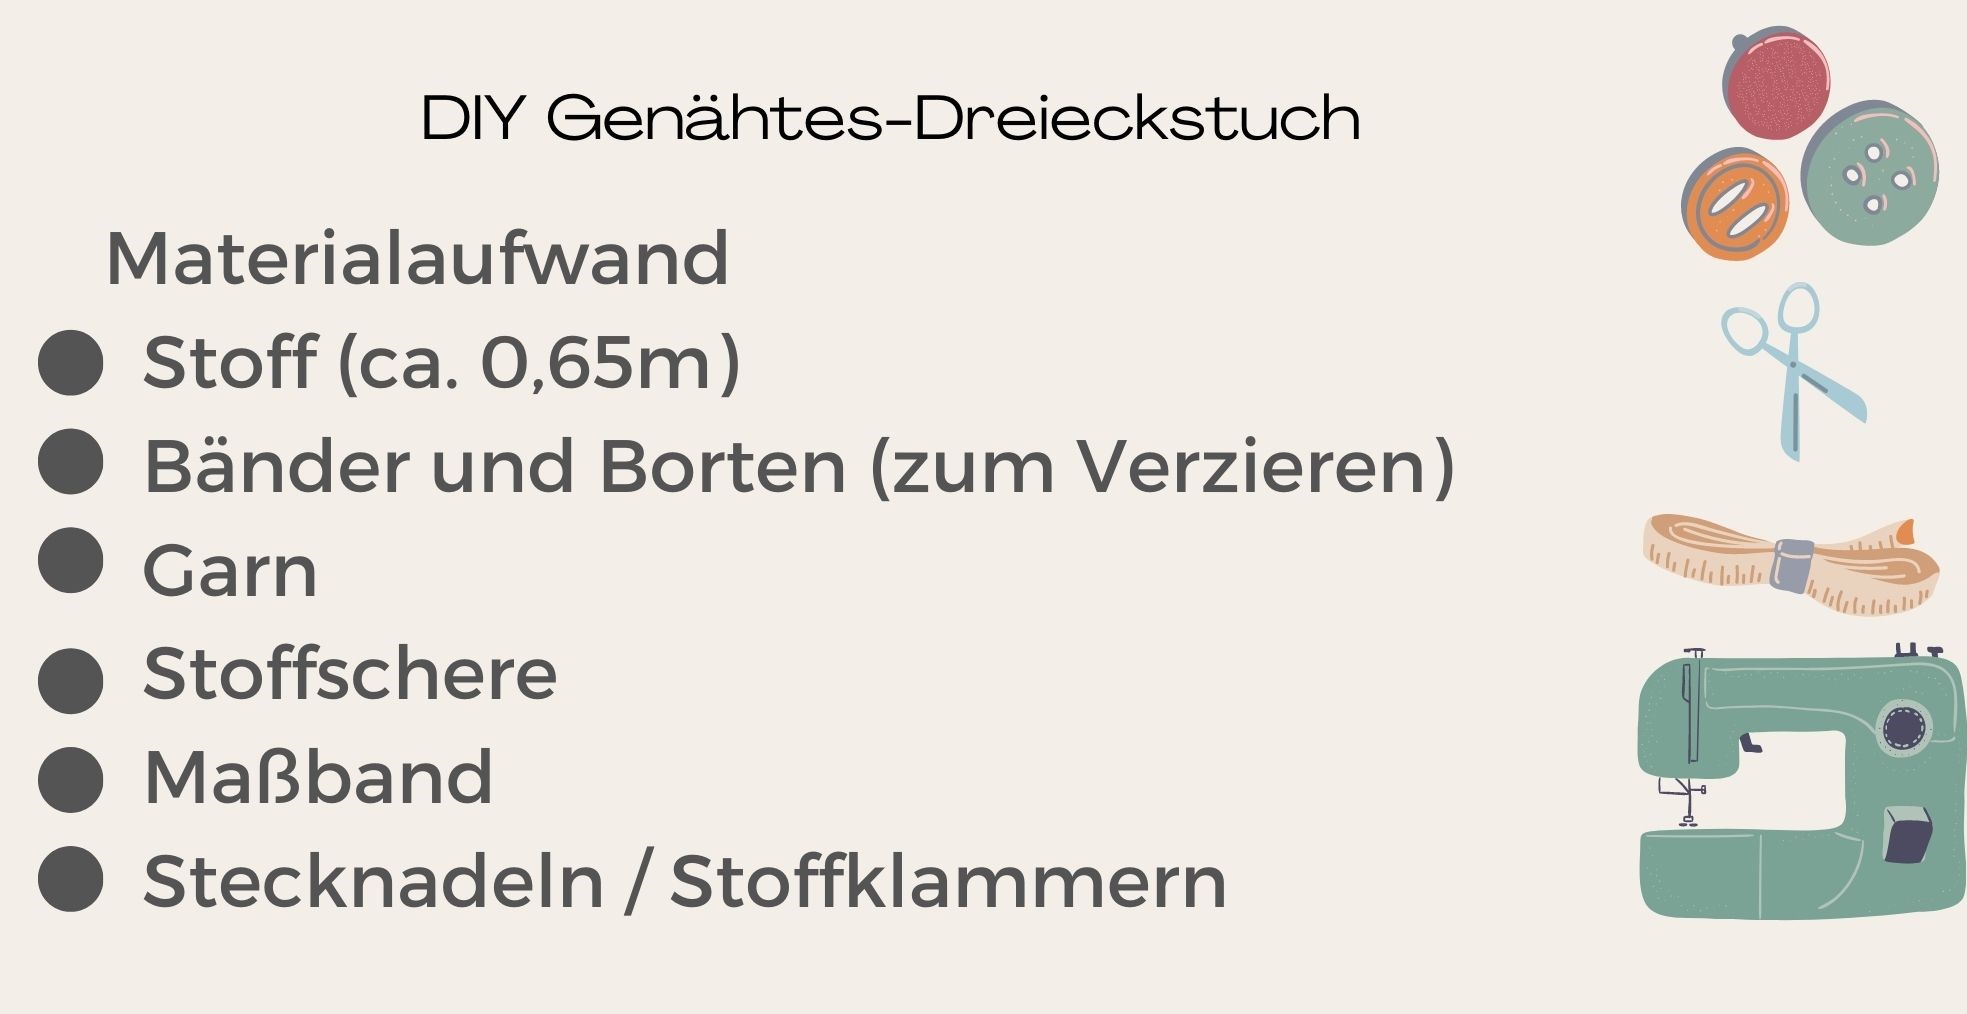
For an adult triangular scarf, we need the following fabric panel measurements: 140cm width x 60cm length. The length here corresponds to the length of your scarf from neck to tip. Now the fabric you've chosen needs to be cut into a triangle. I would recommend a thicker fabric; a sweatshirt fabric is particularly suitable. Not only is it significantly thicker than jersey or cotton, but it also has a cuddly soft reverse side. If you still opt for a thinner fabric, I recommend using two layers of fabric.
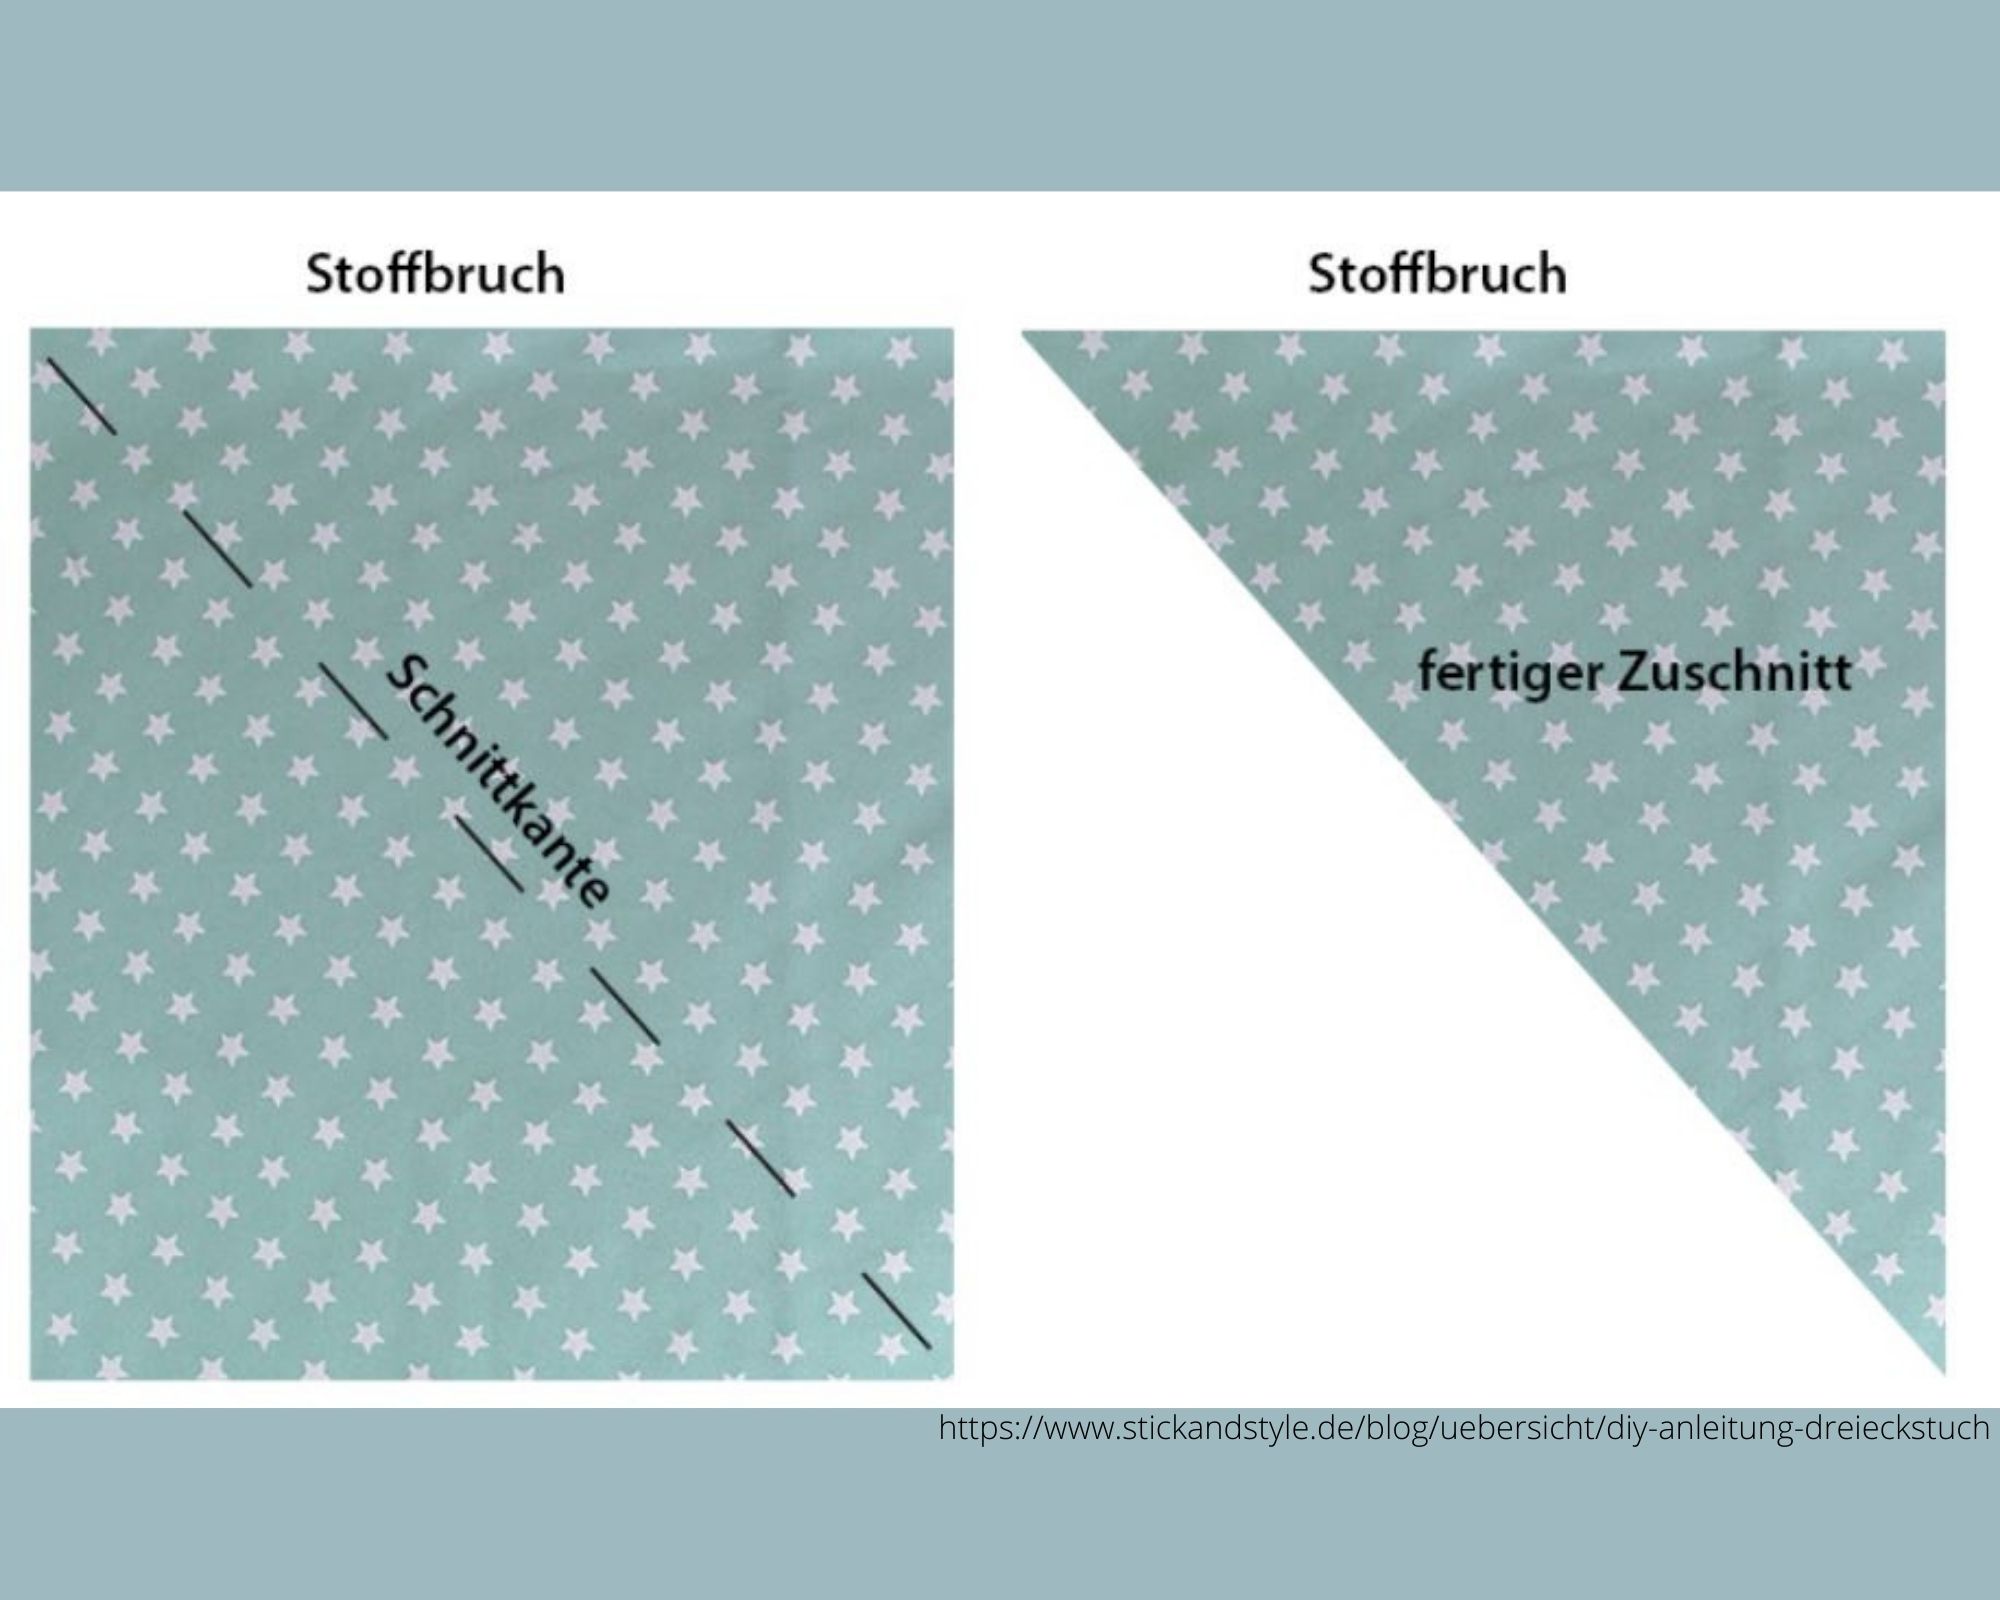
Due to our fabric choice, we are only using one layer of fabric. Therefore, we need to overcast our raw edges so that no unsightly fraying occurs. The best way to do this is with a zigzag stitch on a sewing machine.
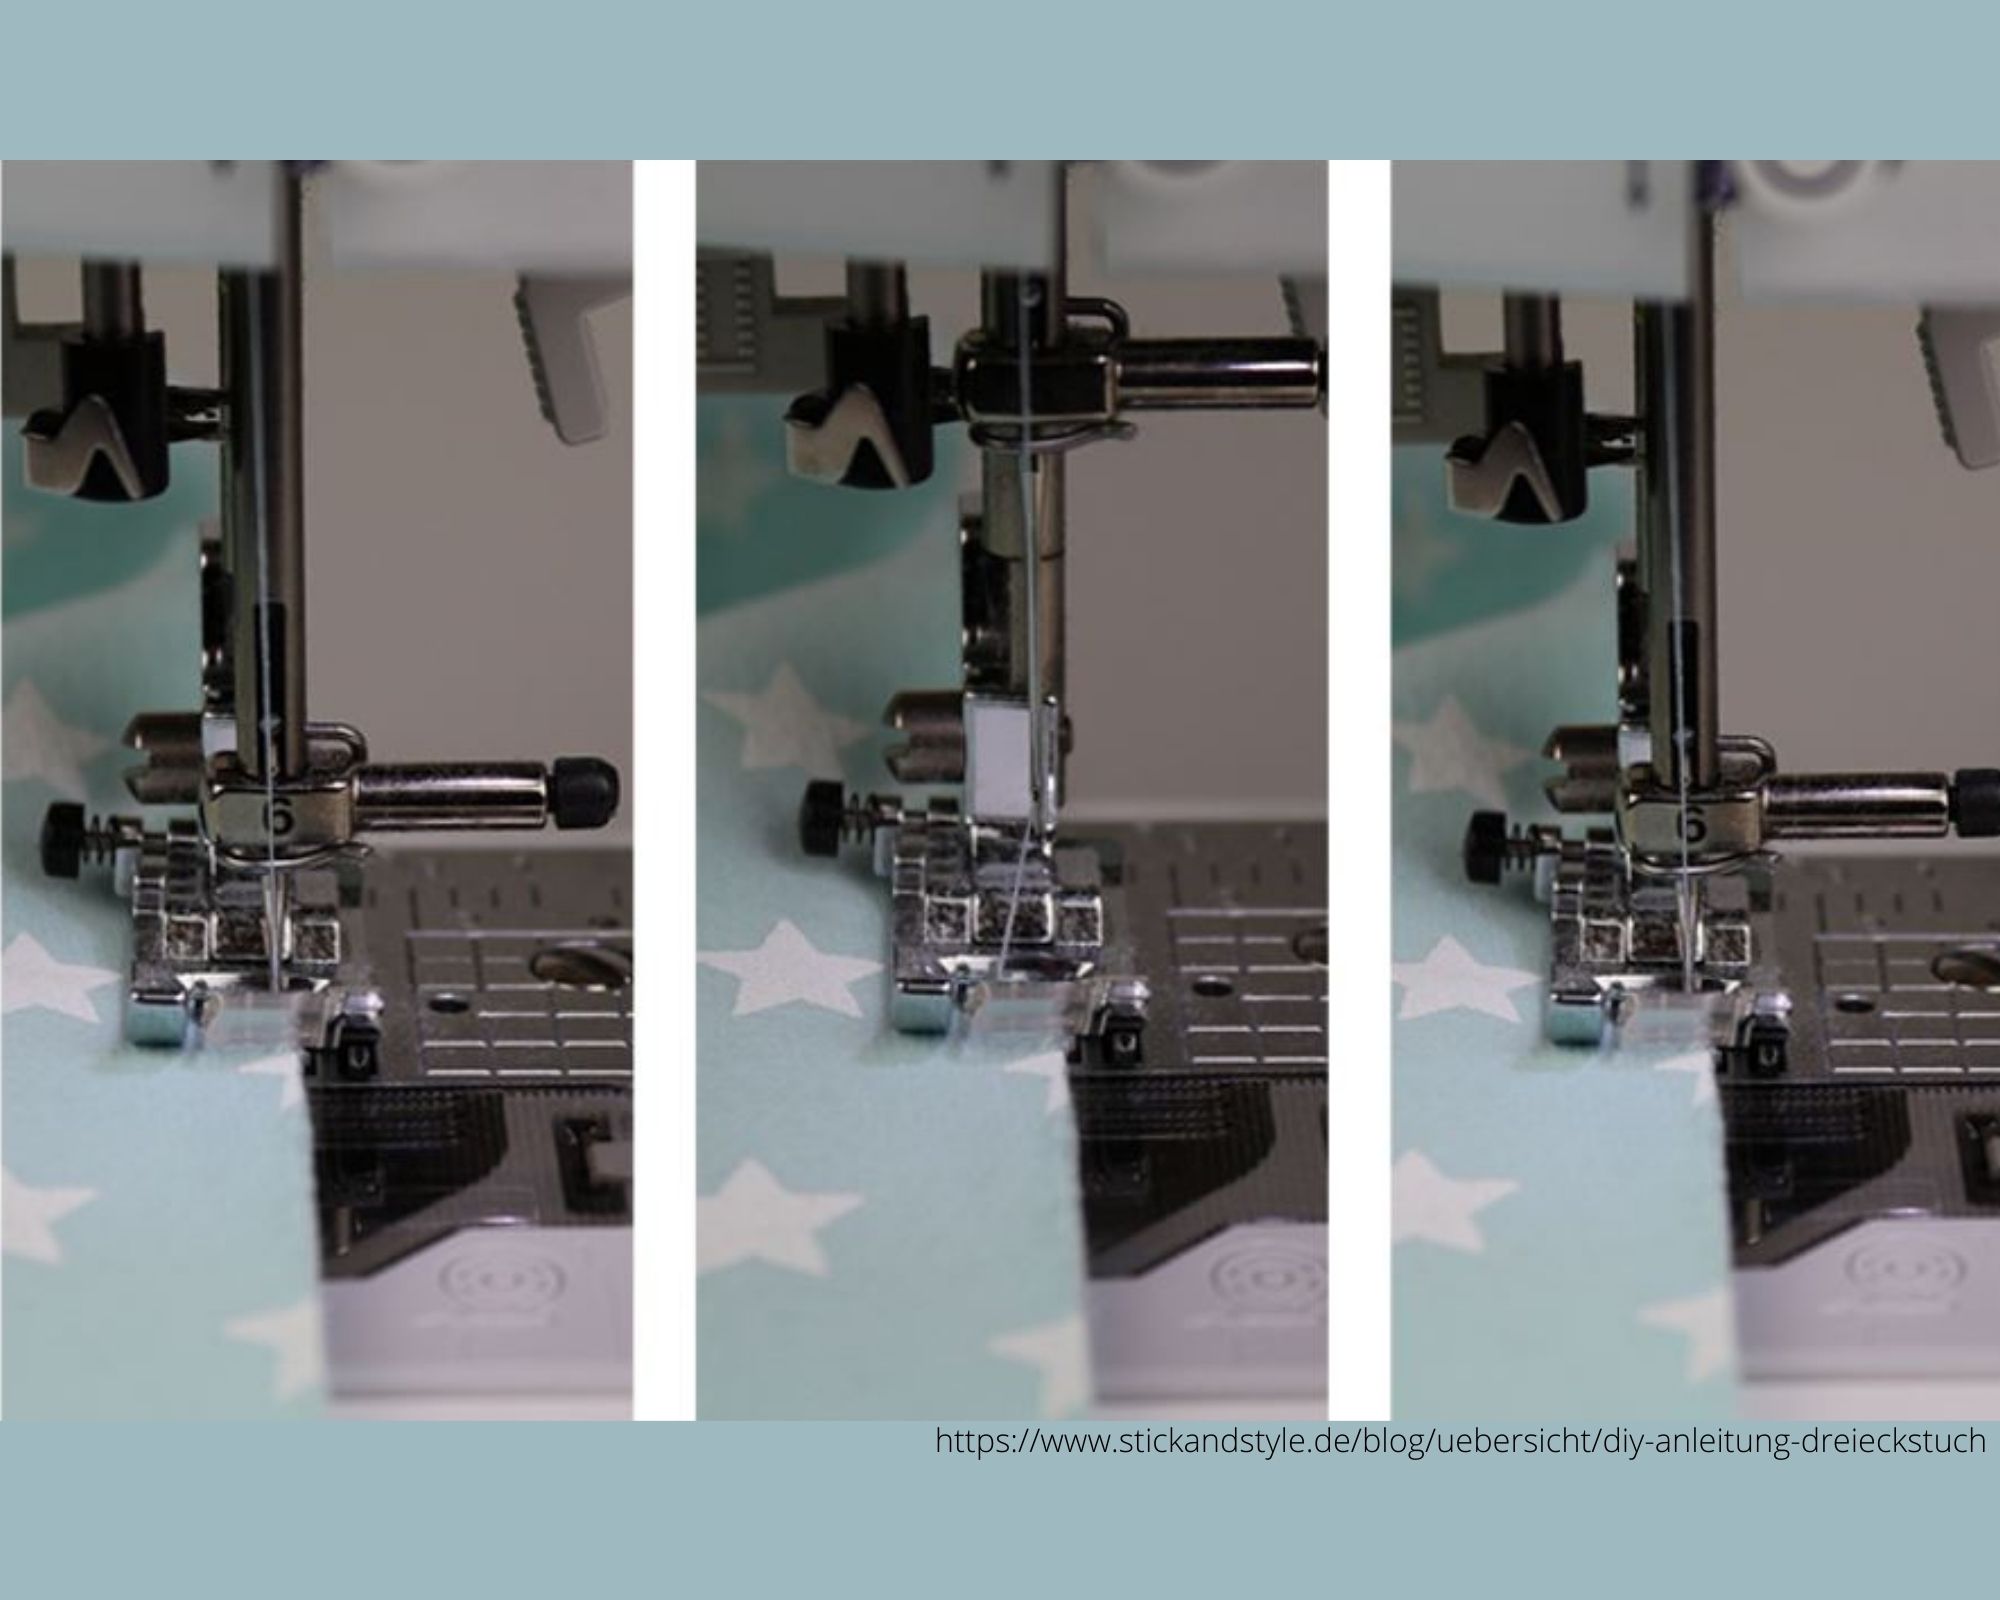
For an optimal zigzag stitch, the sewing machine needle should enter the fabric once and beside it once, so that the cutting edge is optimally overcast.
However, caution is advised here, a zigzag seam tends to ripple. To avoid this, the zigzag seam is ironed.
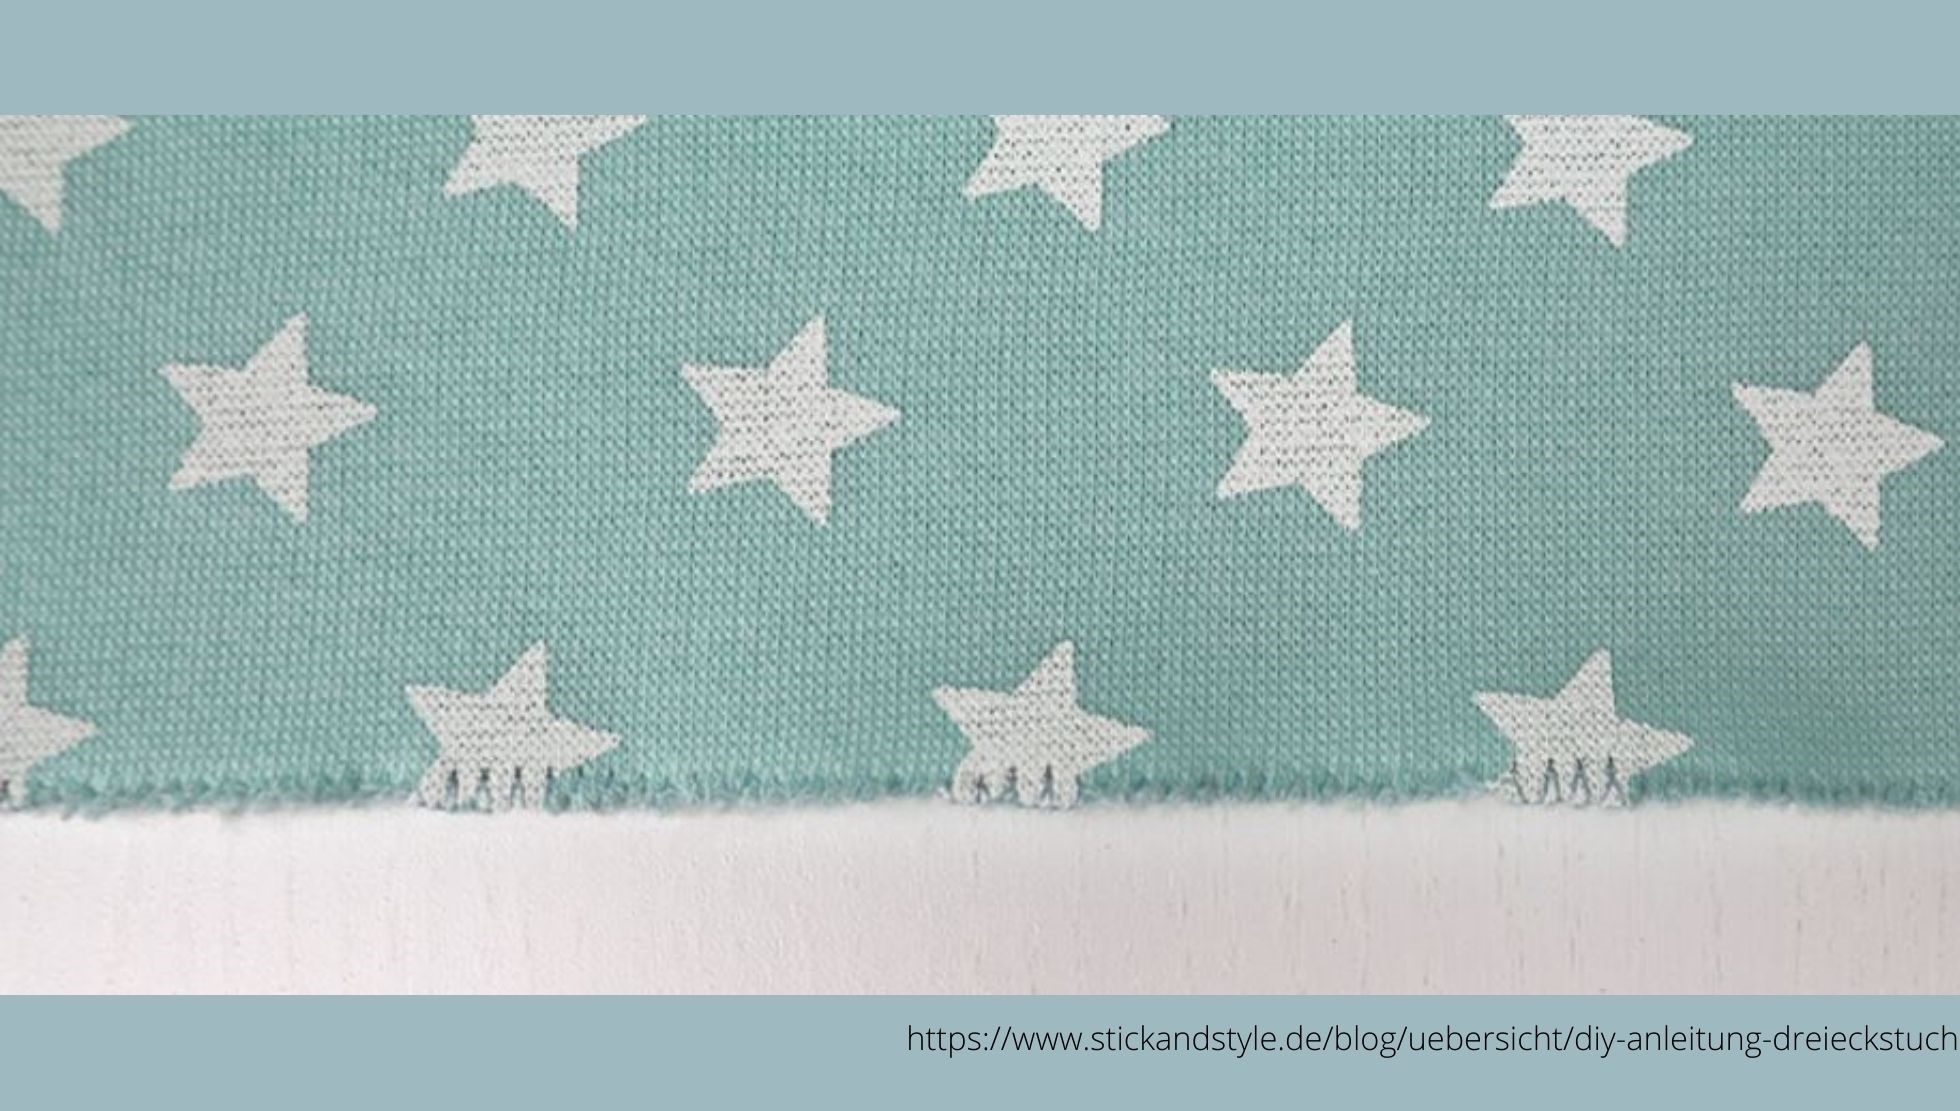
And done! – we already have the basis of our triangular scarf. Now you can decorate it entirely to your taste. Here's a little inspiration:
Jazz up the edges of your new triangular scarf with a velvet trim or with a pompom ribbon.
For all those who don't have much time or aren't so crafty – here's the solution:
At Zwillingsherz, we also offer a wide variety of triangular scarves. Our triangular scarves are not only super stylish but also sustainable.
I've picked out three of our bestsellers for you here:
1. Triangular Scarf "Summer Lacey"
Our "Summer Lacey" triangular scarf is perfect for spring. This great color combination of pink and red creates the first spring feelings – don't you think so too?
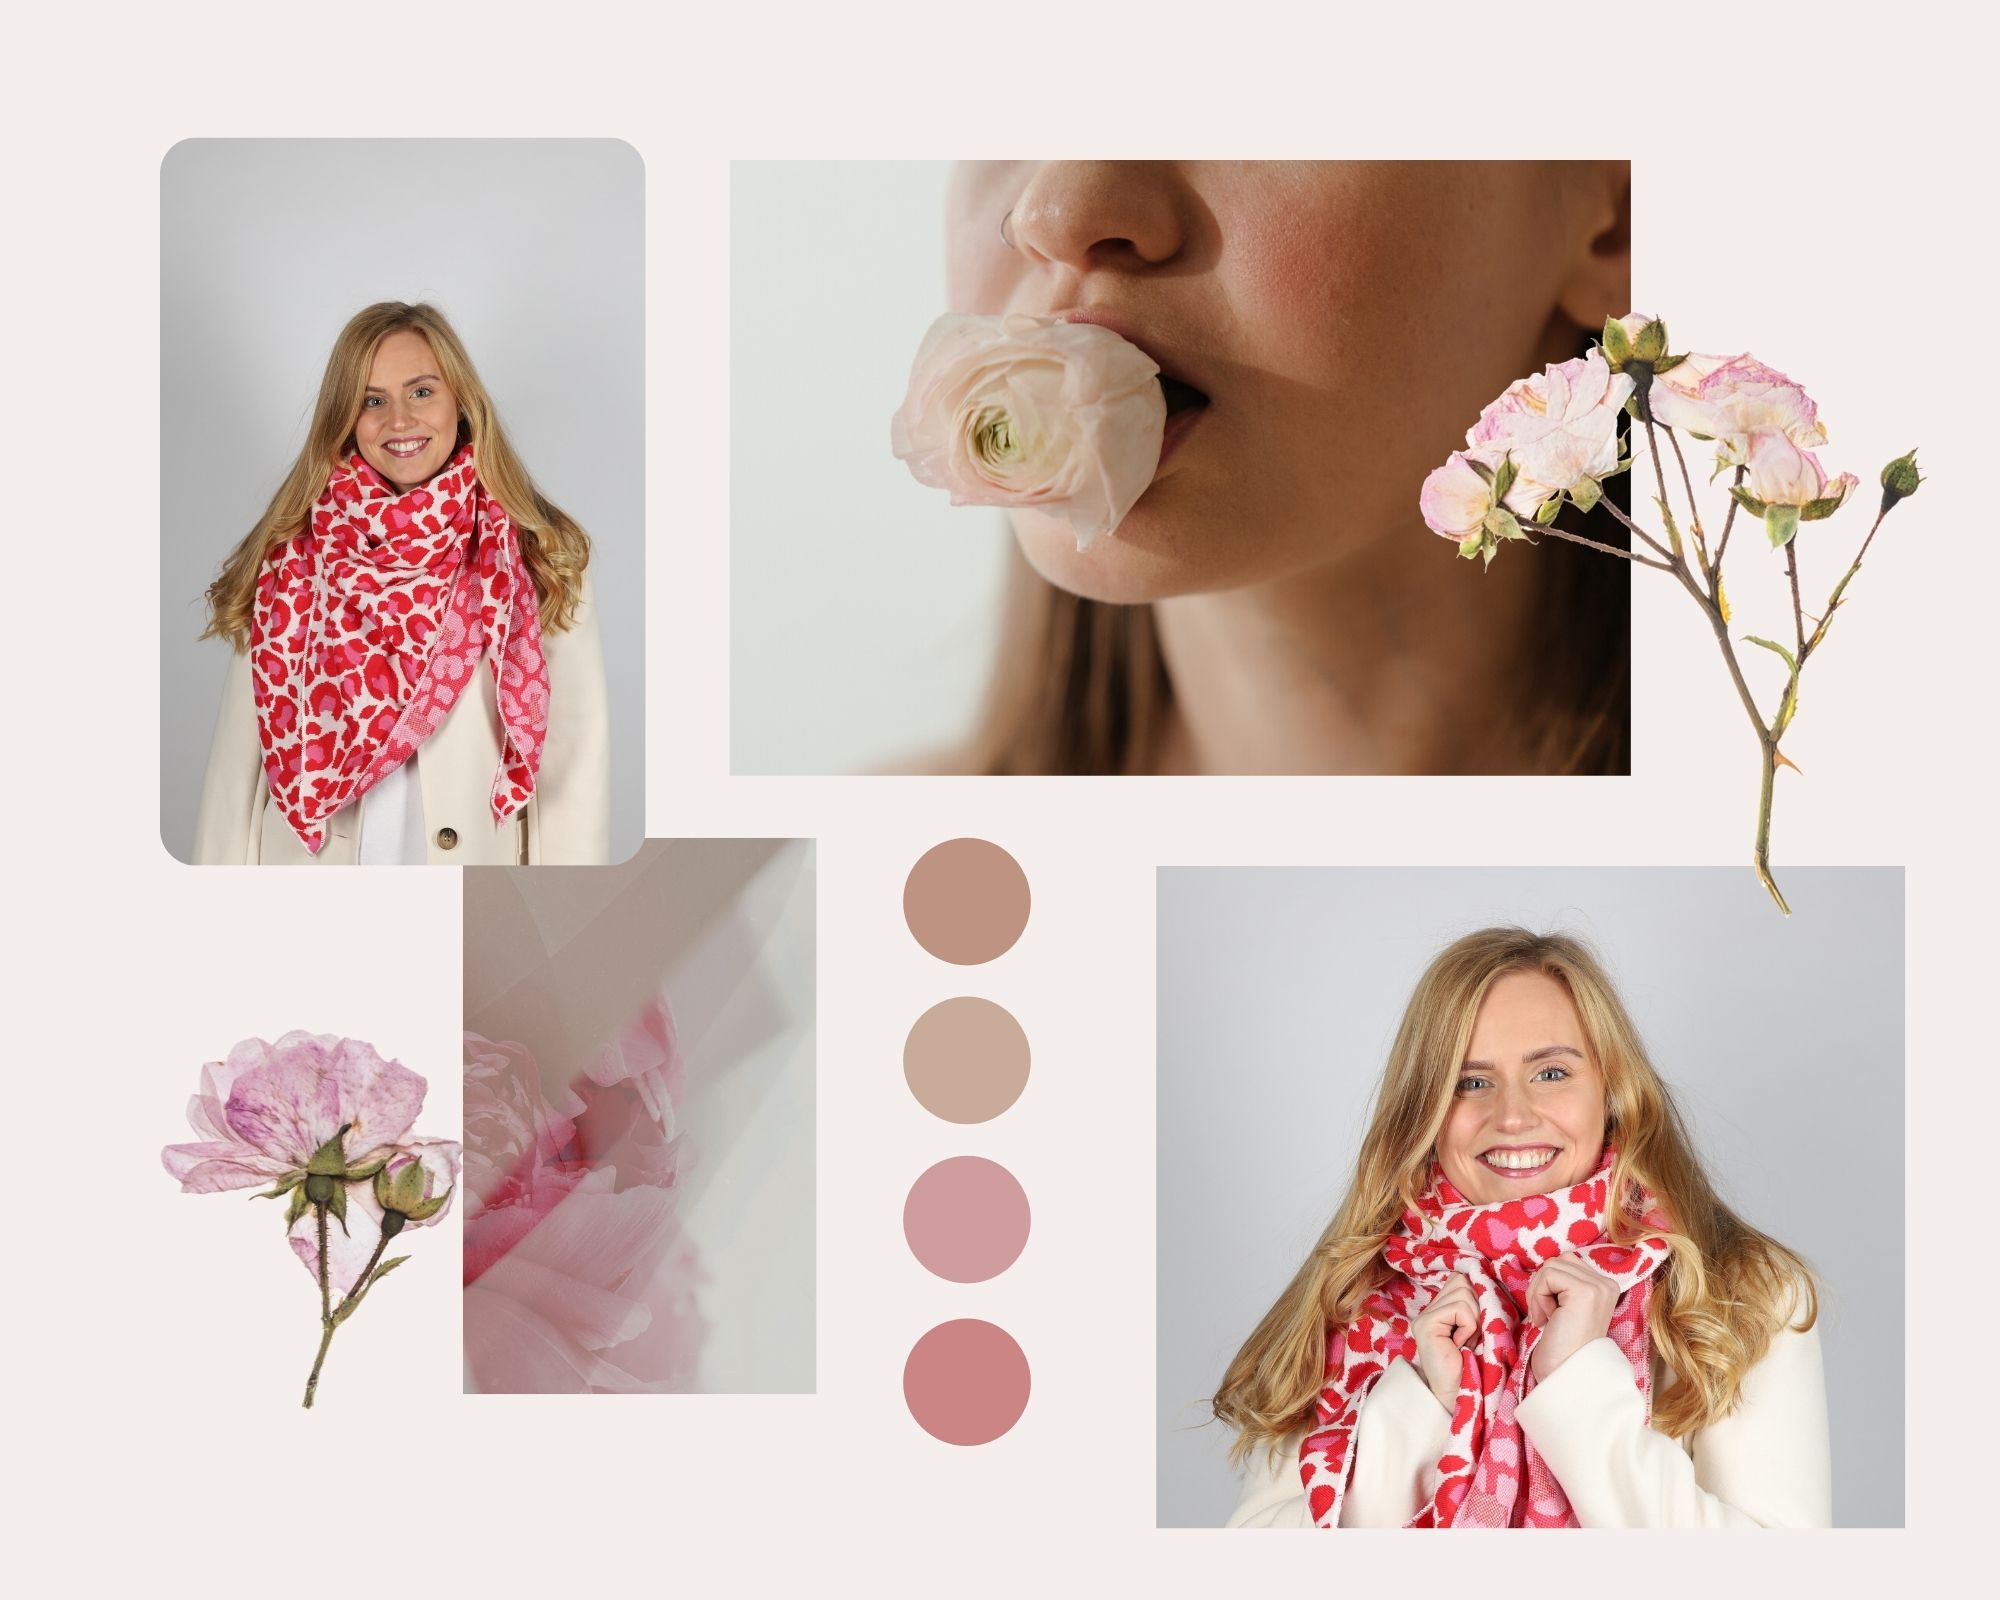
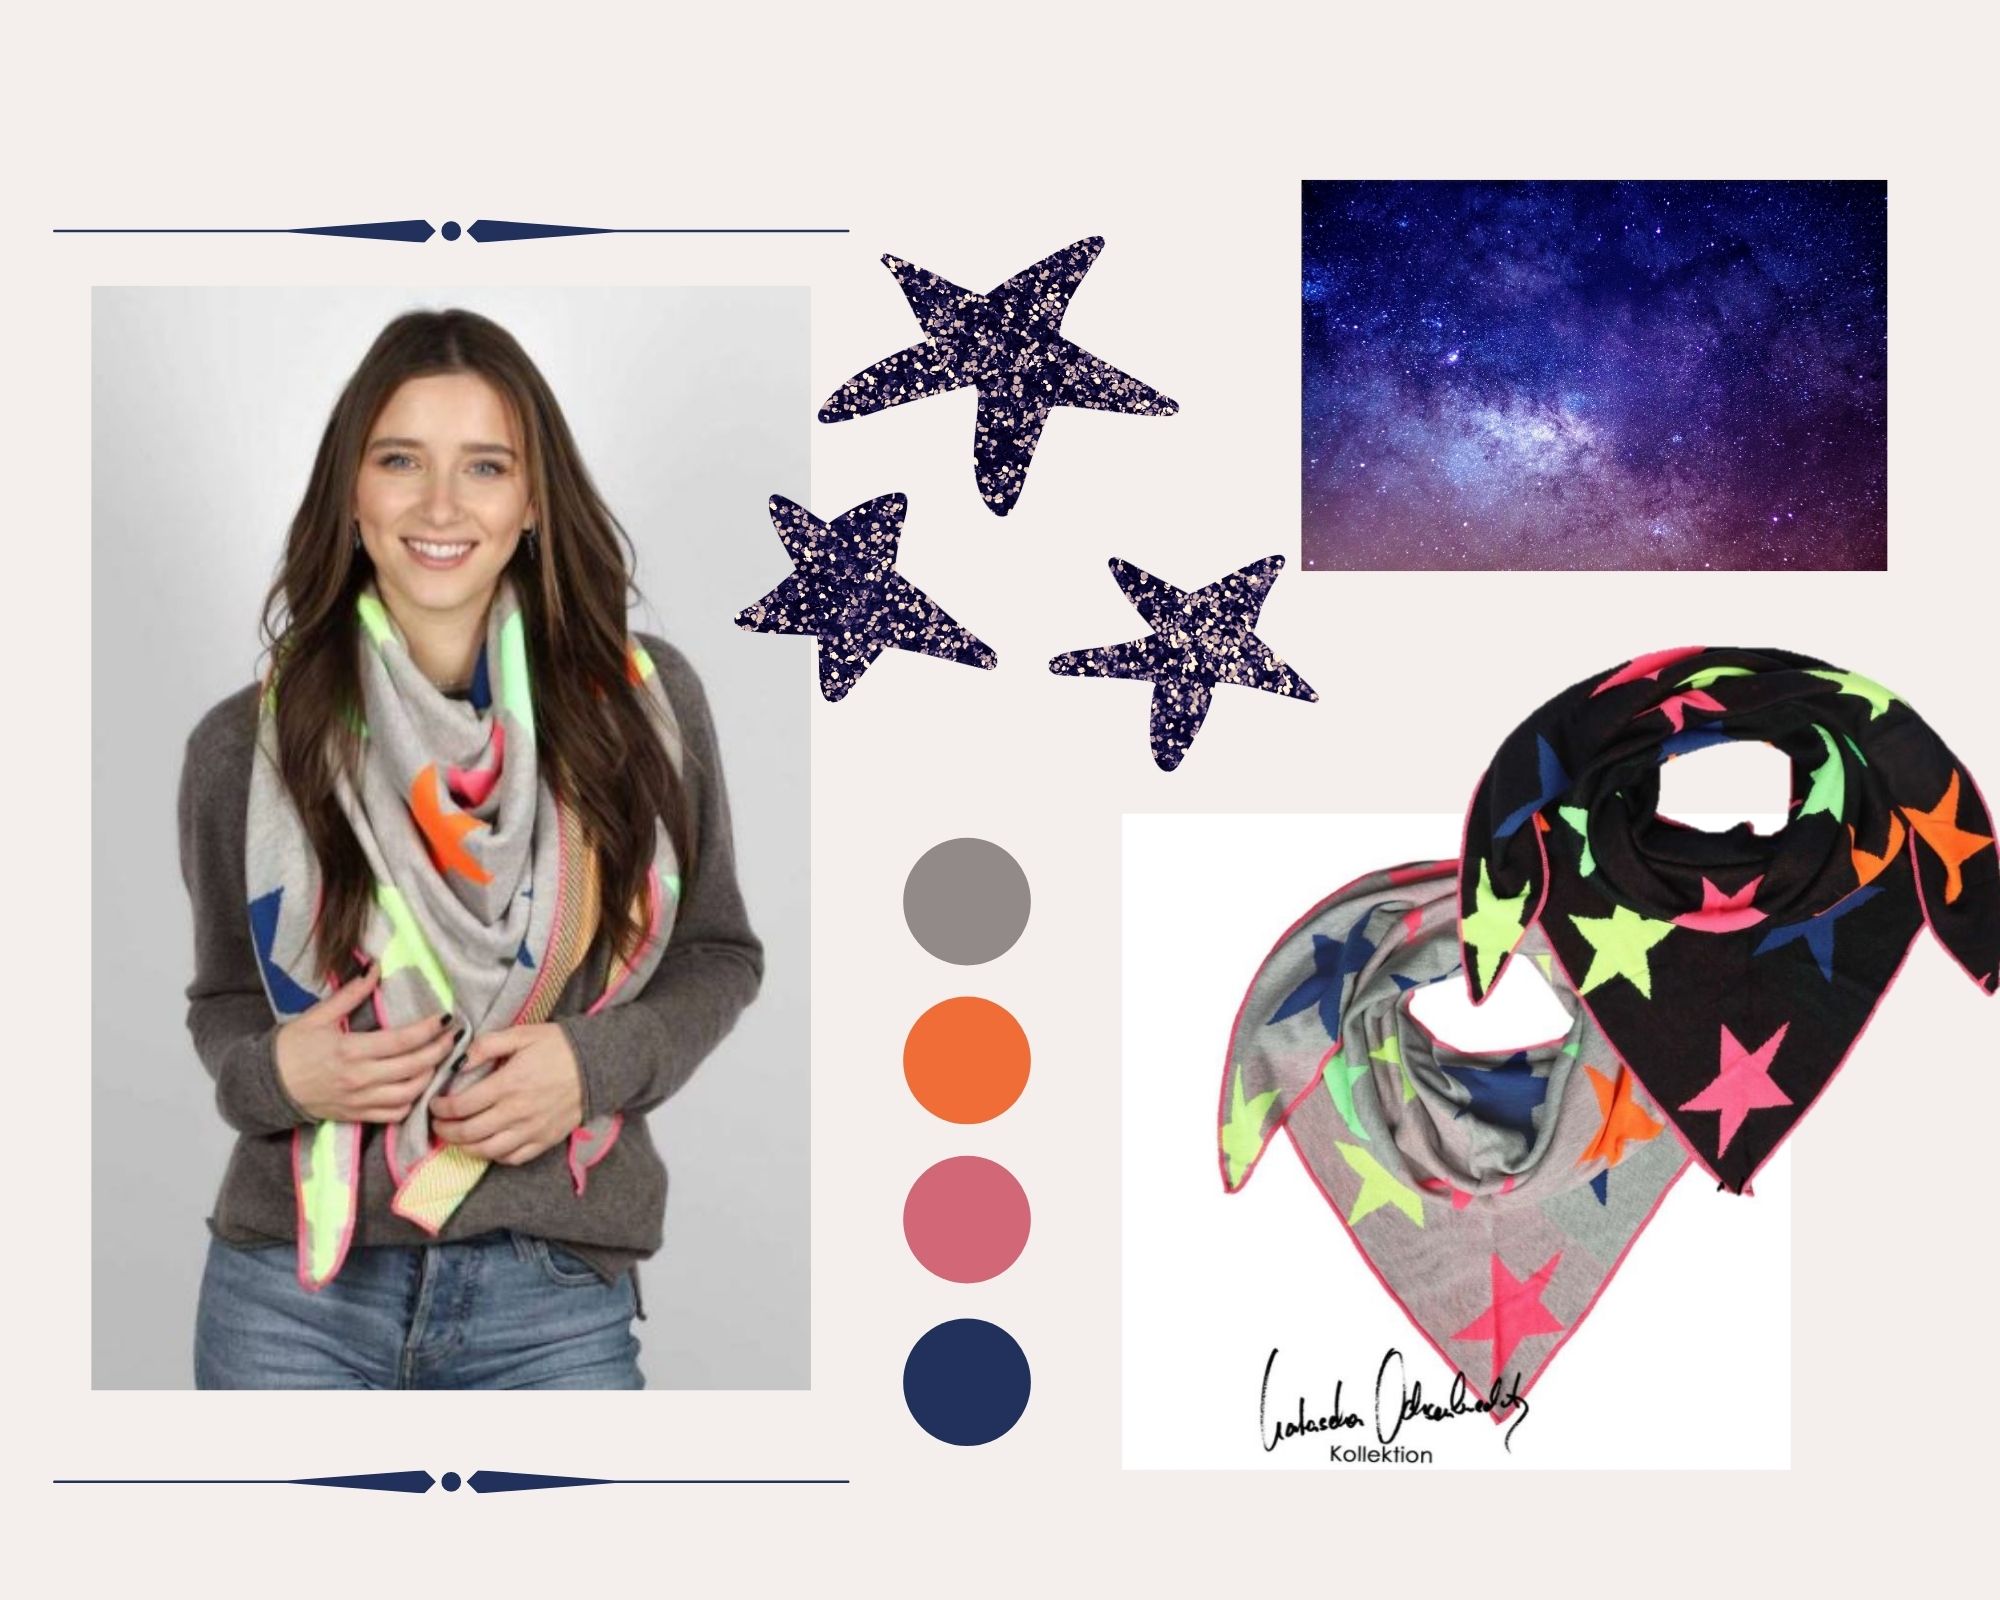
2. Triangular scarf "Neon" N.O.
This triangular scarf comes in two different shades, navy and grey. The triangular scarf impresses with its neon-colored stars all around.
3. Triangular Scarf "Minta" with fringes
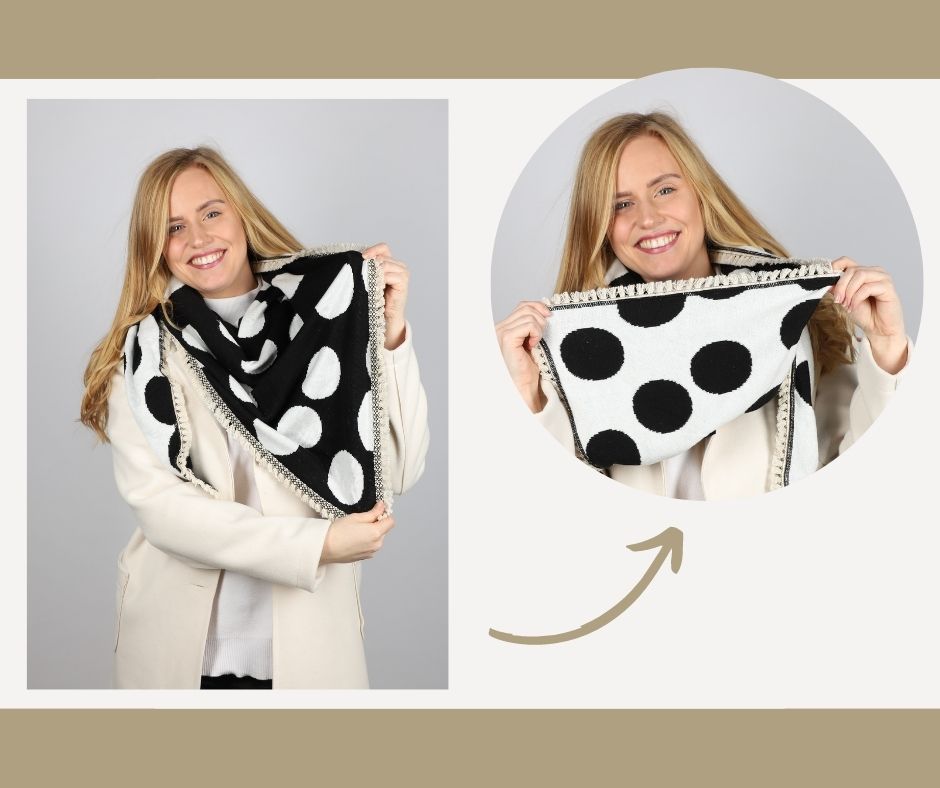
You don't dare to decorate your triangular scarf yourself? No problem! Our "Minta" triangular scarf with fringes already features a great fringe application.
Have fun making it!
Your Christina ♥
Read more
In this blog post, we'll show you how to get into the Christmas spirit despite the current situation.

There are countless dress shapes and cuts, but which dress suits which body type? You can easily find out in our blog post and thus find your perfect Zwillingsherz dress.
